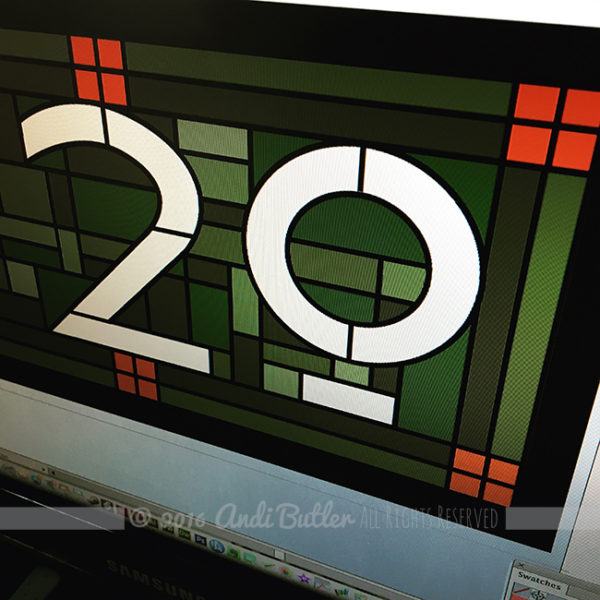
The last time I’d posted, was September of last year, and what a different world we were living in! I’d spent so much time on our school’s musical, and getting swept up in the 24 hour news tornado, enjoying the holidays and spending time with my family, I wasn’t making time for my blog, site or personal projects. I’d even started revamping my website, but I got quite a bit of work at the same time. Why does it work out that way? I’m not complaining, certainly, but I’m not great at getting back into my own groove after an assignment. My bad. I didn’t even have time to make a New Year’s Goal, yet I’d committed to the 100 Day Project… I have four drawings done. Four. Everyone else is on like day 28. So hello May, it’s nice to see you again, I hope you can motivate me to keep my commitments and follow through on things! I’m not going to pile fifty photos on this post of what I’ve been up to since the fall (feel free to check out my Instagram), but I will put this little drawing from exactly two months ago, and going forward, will make more time to post. Also, folks have asked about my textures, so I will be making some available, gratis, in the upcoming months. 
Author: Andi
You Know What Cooler Nights Mean…
Creative Self, Illustration, LetteringWe Made This…
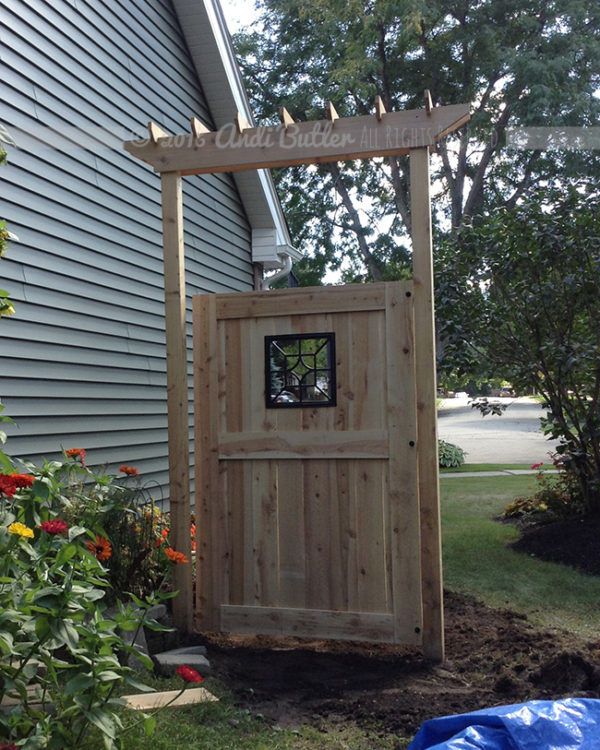
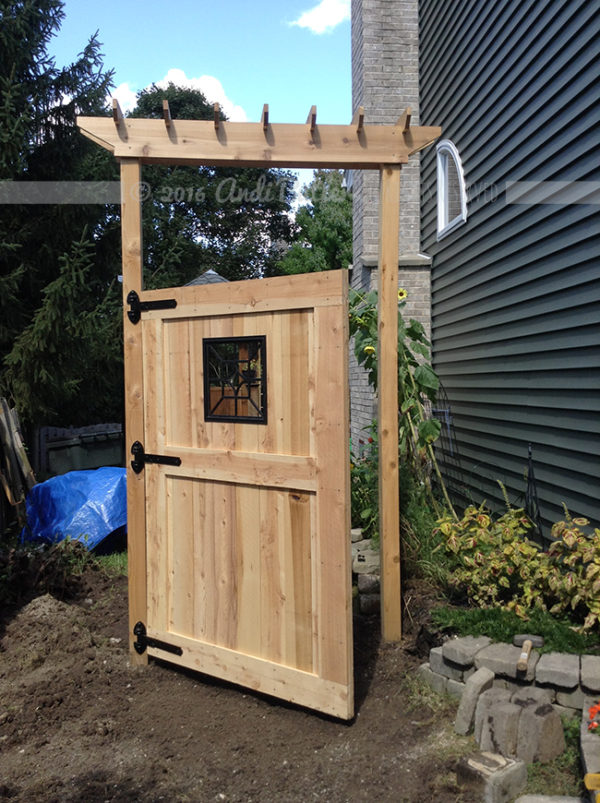
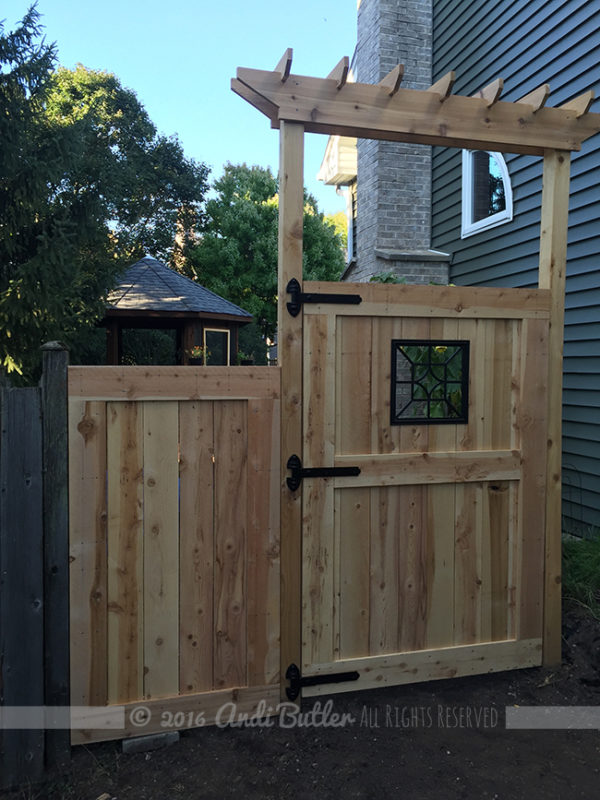
Creative Self, MakingMy husband and I made this gate. We’d needed a new gate for years, our old one was falling apart, the hinges were  barely hanging on, and we’d thought it had had enough of our Midwest winters and that we wouldn’t get through the next one. Having one huge project in one summer is a lot on anyone’s plate, let alone two! We’d built the new garden at the beginning of the season, and this gate was finishing out the summer. I won’t go into all the details about what we’d done, but feel free to ask me any specific questions in the comments!
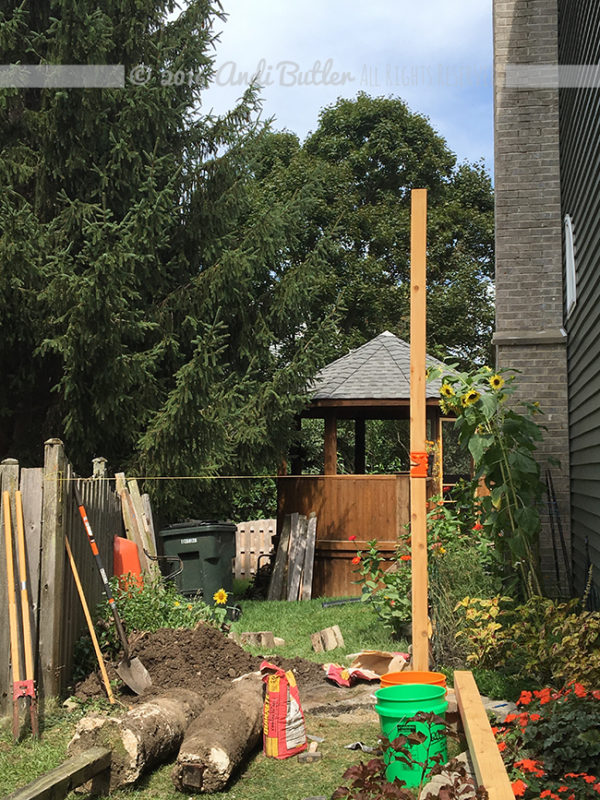
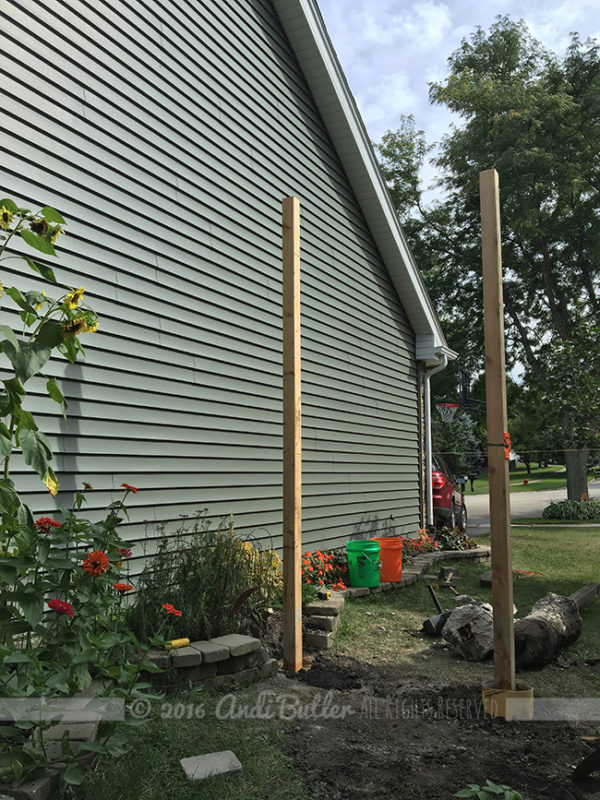
Getting the 12′ posts set was one of the hardest things on this project, primarily because we had to take out the old posts. What a bear!
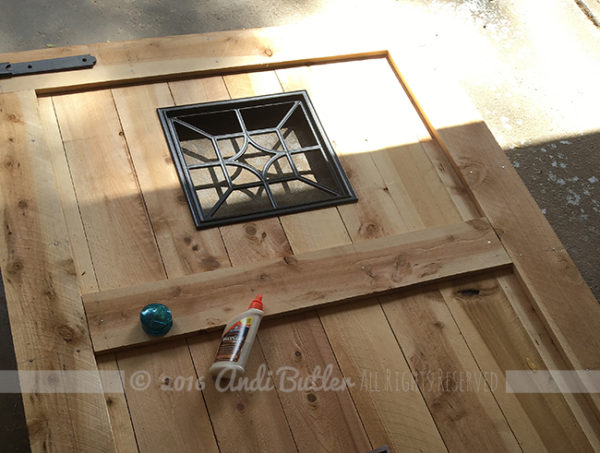
After building the gate frame for both sides and fence pickets sandwiched in the middle, my husband installed the insert. There’s a template, but it’s a little confusing, and it asked for a 9/16″ drill bit, which is odd. Just ask for 1/2″! Still, that’s the size you need… ; )
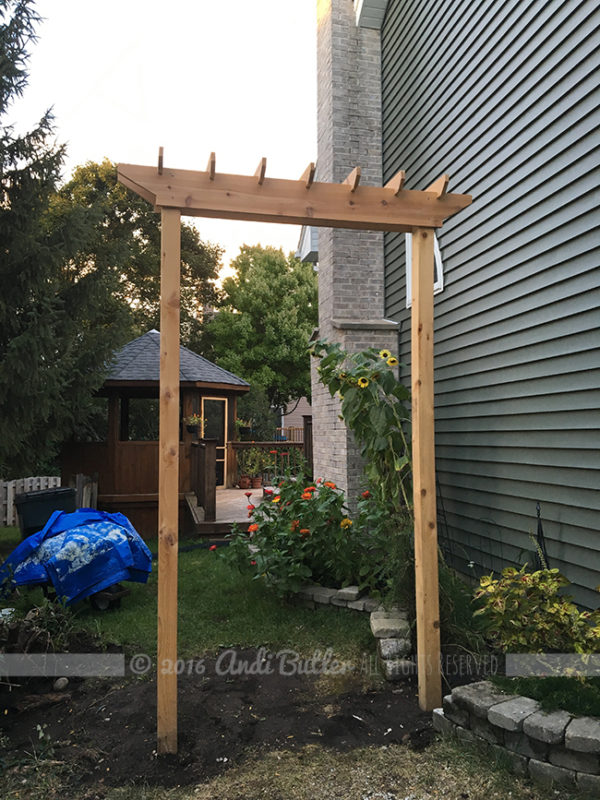
The pergola for the top was actually easier than it looks, but there is a lot of measuring and cutting. We wanted to keep the end cuts simple. Easy for me, because I didn’t get up on the ladder. Thankful the Mr. had no problem with it!
We decided to only replace the fence on one side…
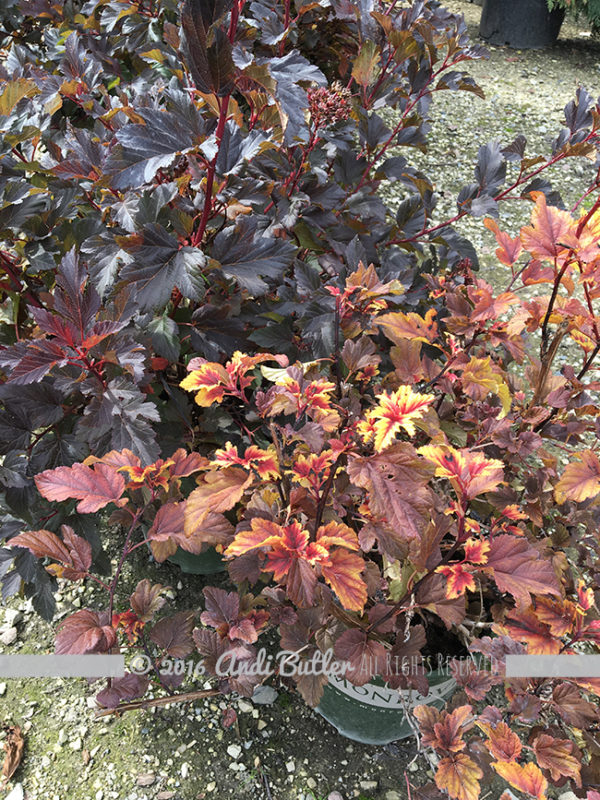
And, to have a ninebark on the other side, between the post and the house. From a design perspective, I wanted a softer edge instead of a fence on both sides of the gate. With such heavy wood taking up two thirds of the space, we needed something to give the eye a rest, and to incorporate the structure into the yard. We didn’t want it to look like a fortress! ; )
Our house number is the next project, stained glass mosaic. You can bet I’ll be posting those pix too!


